Where to Start When Cleaning Your Room: A Simple 5-Step Plan

Woman starting to clean a messy bedroom by picking up clothes from the floor and placing them in a laundry basket when deciding where to start when cleaning your room

What You Should Do When Cleaning Your Room

Knowing where to start when cleaning your room can feel surprisingly difficult. When clutter spreads across multiple surfaces, it creates visual overwhelm where every surface competes for your attention, and decision fatigue, where your brain struggles to choose what to tackle first. This makes it difficult to decide where to begin.

Meanwhile, that pile of “I’ll put it away later” items quietly grows into a small environment of its own. You pick up one thing, set down another, get distracted, and somehow the room still looks the same.

The upside? Clutter isn’t random. It gathers in predictable places, and once you recognize these patterns, cleaning becomes far more manageable. Research from the American Cleaning Institute shows that organized spaces can make daily cleaning tasks feel easier to manage.

The sections below explain where to begin, how to stay focused while cleaning, and how to finish the job without feeling overwhelmed.

Table of Contents

Where to Start When Cleaning Your Room: The 5-Step Reset Framework

Now the big question: where to start when cleaning your room? If you’ve ever looked around and thought, “I want to clean my room, but I don’t know where to start,” you’re definitely not alone. When clutter piles up, the task can feel bigger than it actually is.

Instead of tackling everything at random, use a simple system. The approach below is called the 5-Step Reset Framework. It breaks cleaning into a logical order that helps you see progress quickly.

Infographic showing five steps for where to start when cleaning your room including starting with visible clutter, cleaning top to bottom, organizing flat surfaces, finishing with the floor, and making the bed last

Step 1: Start with What You Can See

Begin by addressing the most obvious clutter: surface-level mess. If items have piled up over time, using quick decluttering hacks can help you remove clutter faster before moving on to deeper cleaning tasks.

This includes:

  • Dirty dishes or cups
  • Empty food wrappers
  • Trash on the floor or nightstand
  • Random clothes (on chairs, floor, or bed)
  • Items clearly out of place (shoes in the middle of the room, makeup on your desk, etc.)

Throw out the trash, put dishes in the sink or dishwasher, and toss laundry into a basket, even if you’re not washing it right away. This first sweep clears the “chaotic clutter” and instantly makes your room feel less overwhelming.

Why this works: Visible clutter creates instant overwhelm because your brain tries to process everything at once. Clearing the most noticeable items first creates immediate visual progress, which lowers stress and helps you mentally shift into “cleaning mode.”

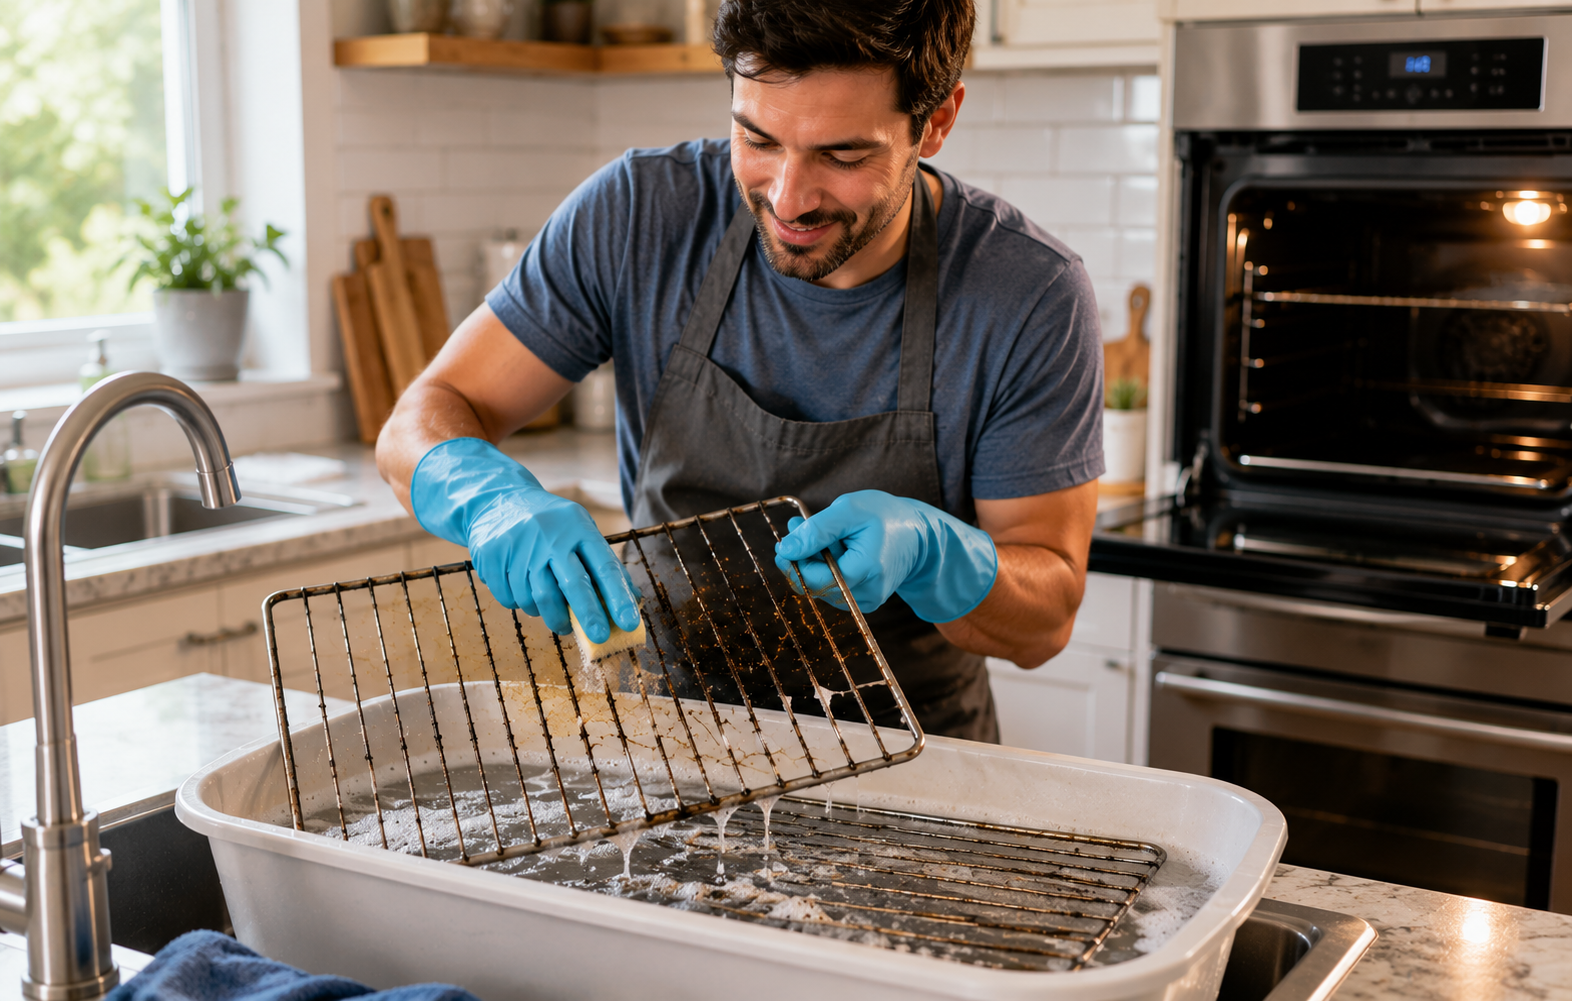
Step 2: Clean from Top to Bottom

Once the obvious clutter is gone, move into actual cleaning, but always work from the highest points in the room down to the floor.

Here’s the best order to follow:

  1. Ceiling fans, light fixtures, and corners – Use a duster or microfiber cloth.
  2. Shelves and high furniture tops – Wipe down with a dust cloth or cleaner.
  3. Desktops, dressers, and bedside tables – Clear them off, clean them, then re‑organize.
  4. The bed and other furniture surfaces – Dust headboards, vacuum upholstery if needed.
  5. Floor last – Sweep or vacuum thoroughly. Mop if it’s tile, wood, or laminate.

Dust naturally falls downward when you wipe or clean surfaces. Health guidelines from the Centers for Disease Control and Prevention (CDC) recommend cleaning high surfaces before floors to prevent the spread of debris during routine cleaning.

Keep a small basket nearby while cleaning. If you find items that belong somewhere else, toss them into the basket and return them later instead of interrupting your flow.

Why this works: Cleaning top-to-bottom prevents rework. Each step builds on the previous one, so you only clean each area once.

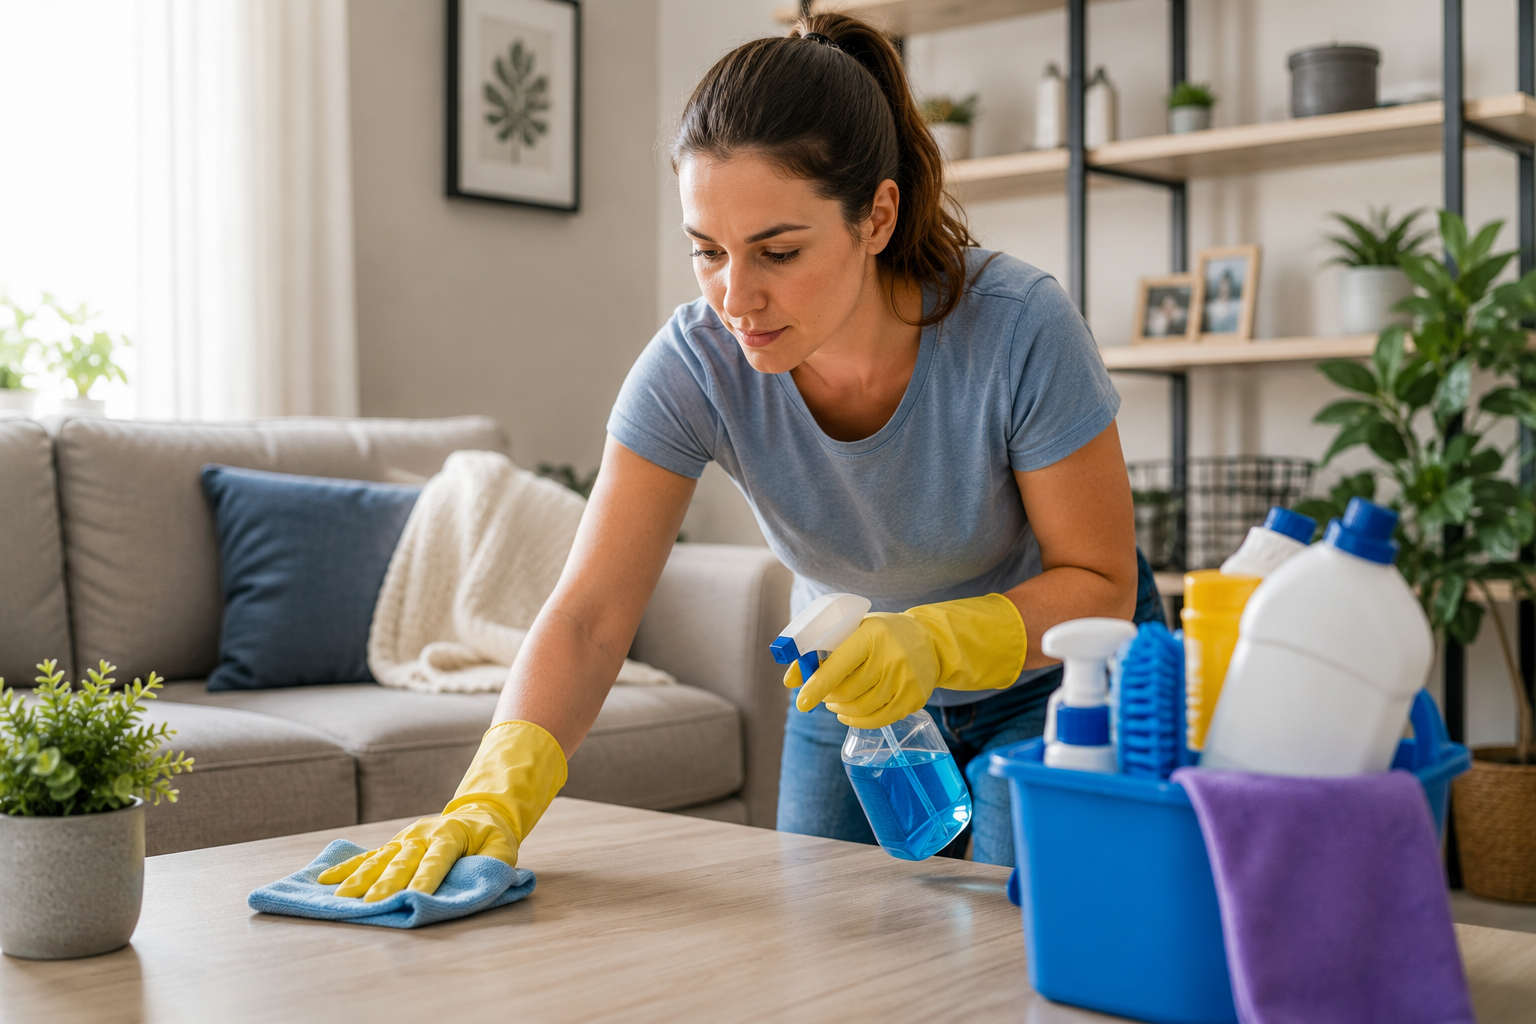
Step 3: Zone in on Flat Surfaces

Now that you’ve cleared the obvious clutter and dusted higher areas, it’s time to give some attention to the flat surfaces, which can be considered the “daily-use zones.”

Although these surfaces may appear minor, they significantly influence how clean the room feels.

Think of surfaces like:

  • Your desk or vanity (where you work, get ready, or charge devices)
  • Your nightstand (often a home for phones, books, water glasses)
  • The top of your dresser (a catch-all for everything from change to random receipts)

Here’s how to tackle flat surfaces effectively:

1. Clear everything off

Don’t try to tidy up around stuff. It’s easier to remove everything from the surface. This gives you a clean slate and helps you see the full picture of what’s actually there.

2. Wipe it clean

Use a damp cloth, multi-surface spray, or disinfecting wipe to clean the whole area.

Don’t forget corners and behind objects because dust and spills like to hide there. This step alone instantly freshens up the space.

3. Sort as you go

To help you properly sort, quickly decide:

  • What belongs here?
  • What needs to go elsewhere?
  • What should be tossed or donated?

You’ll probably find at least a few things that don’t belong, so don’t hold on to them any longer.

4. Only return what’s necessary

Put back only the items that truly belong on that surface. Think of things you use often or want on display.

If possible, group similar items together using small baskets or trays as organizers.

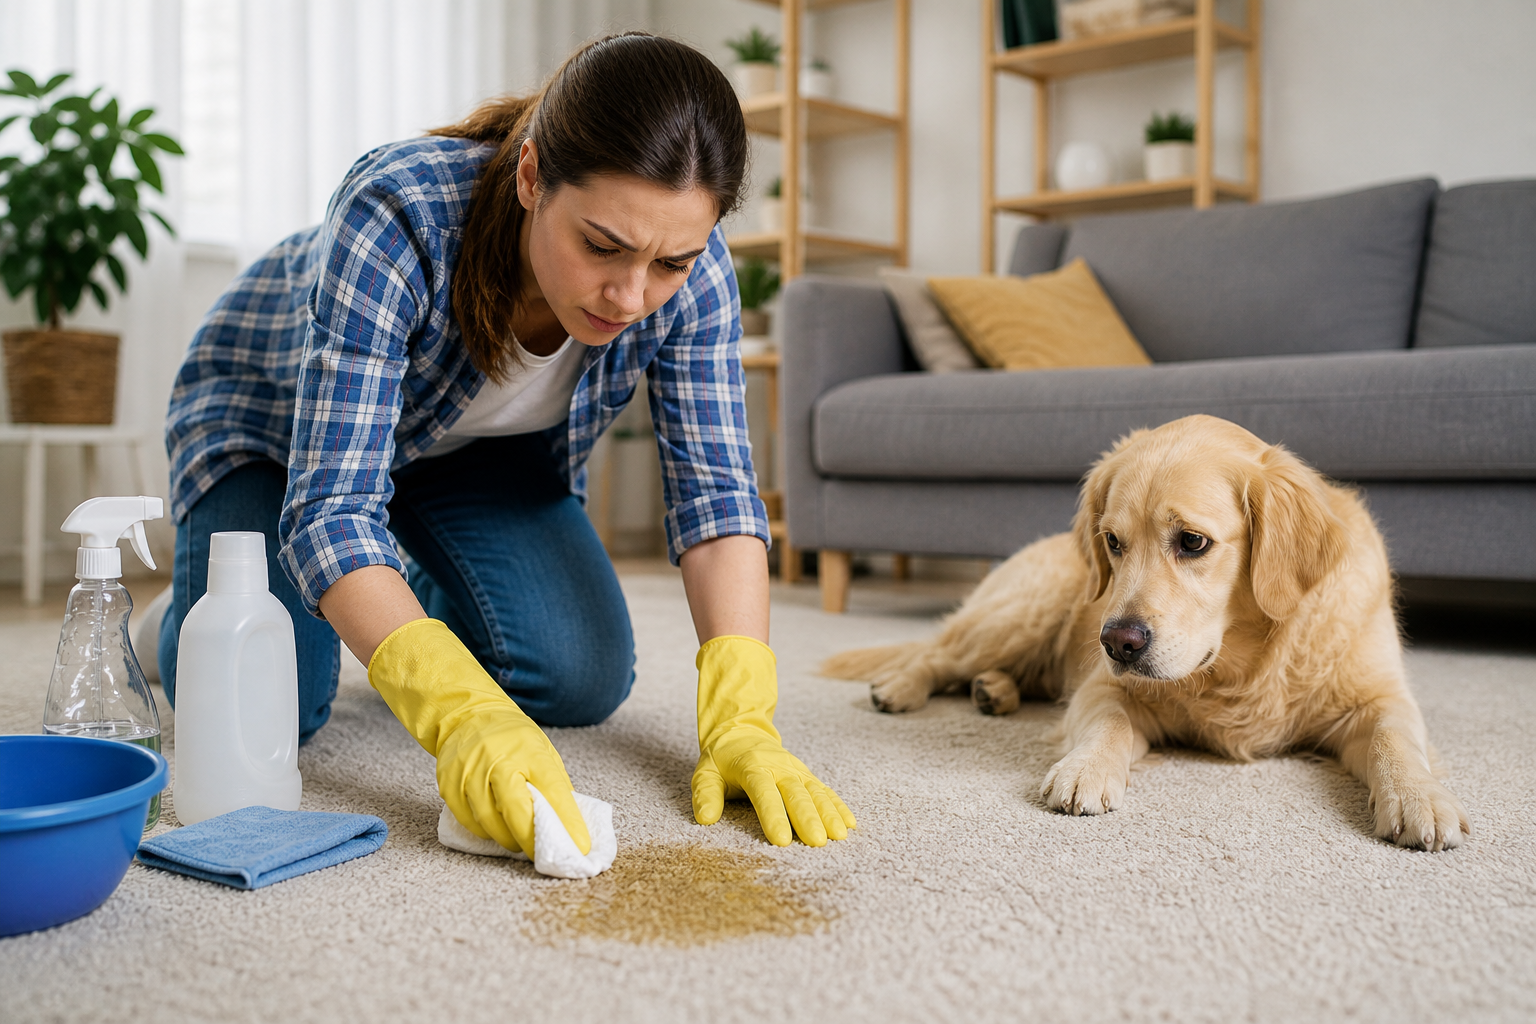
Step 4: Finish with the Floor

With most clutter removed and surfaces cleaned, the floor is now easier to handle.

Focus on:

  • Picking up shoes, bags, boxes, or anything left lying around
  • Moving small furniture slightly to clean underneath
  • Vacuuming carpets or rugs thoroughly
  • Sweeping and mopping if you have a hard floor

Allow yourself a second to straighten out the rugs or reposition items that may have shifted during cleaning.

Use a scented cleaner or light essential oil mix on hard floors to leave a fresh, clean smell. It helps the room feel freshly cleaned once the process is finished.

Why this works: Leaving the floor for last ensures that all dust and debris from earlier steps are captured in the final sweep. It’s the finishing pass that ties the entire cleaning process together.

Step 5: Make Your Bed Last

You might be used to making your bed first thing, and that’s actually a great daily habit! But when doing a full room reset, it’s best to save the bed for last.

During cleaning, the bed often becomes a temporary holding area for clothes, baskets, or items you’re sorting. Making it early just creates extra work.

Once the rest of your room is reset:

  • Shake out and smooth the sheets
  • Fluff your pillows
  • Pull your comforter evenly over the top
  • Add decorative pillows or throws if you use them

Why this works: Finishing with the bed creates a sense of closure. A neatly made bed visually anchors the room and signals that the cleaning process is complete.

How to Stay Motivated After You Start Cleaning

Starting is one hurdle, but staying motivated once you begin cleaning is another challenge entirely. Part of the difficulty comes from why we underestimate how long cleaning tasks take, which often makes the process feel more frustrating than expected.

Completing small tasks quickly creates momentum. Instead of forcing yourself through the entire room at once, focus on simple tasks that create steady progress.

Here are a few practical strategies to help maintain that momentum.

A. Create a mini‑checklist

One of the easiest ways to stay on track is to use a short, actionable checklist. Keep it simple: about 4 to 6 tasks that can be completed quickly. This reduces decision fatigue and gives you a clear direction.

For example:

  • Pick up all clothes and put the laundry basket next to the bed.
  • Clear off desk/table surface.
  • Empty trash and wipe surfaces.
  • Make the bed properly and clear the floor space.
  • Vacuum or sweep the floor.

You can start from this downloadable mini checklist PDF and tweak it with what works for you.

B. Use zones and timers

If the room still feels overwhelming, split it into zones, such as the bed area, desk area, or floor space. Instead of tackling everything at once, focus on just one zone at a time.

Set a timer for 15 to 20 minutes where your sole focus is only on a specific zone. Once the timer ends, take a short break before moving on. This technique reduces distractions and helps you focus on one area at a time.

C. Prioritize rather than perfect

It’s tempting to keep polishing, organizing, and rearranging, but you’ll stall if you aim for perfection right away.

Instead, aim for “good enough” first. The goal is to tidy up and be functional. You can worry about the smaller details later on. This approach helps you push through the “don’t know where to start” inertia.

What to Do When Cleaning Your Room and You Get Distracted

Distractions are one of the biggest reasons people stop cleaning halfway through.

Often, distraction isn’t just random. It’s a form of avoidance. When a task feels overwhelming or endless, your brain naturally looks for easier alternatives like checking your phone or watching a video. The key to staying on track is interrupting that avoidance cycle by creating clear boundaries and small, manageable goals.

Here are four ways to stay focused while cleaning and keep your momentum going.

A. Remove distraction triggers

The first step is identifying what typically pulls your attention away. For many people, it’s phone notifications or background entertainment that gradually steals focus.

Take simple steps to reduce those triggers. Put your phone on “Do Not Disturb,” leave it outside the room, or place it face down across the room. If you enjoy music while cleaning, use a playlist instead of apps that tempt you to scroll.

When distractions are physically out of reach, it becomes much easier to stay engaged with the task in front of you.

B. Use time containment

One reason cleaning feels exhausting is that it can seem like it has no clear end. Instead of thinking about cleaning the entire room, focus on short, contained sessions.

Try the 10-minute rule: when you feel your attention drifting, ask yourself if you can stay focused for just ten more minutes. Often, the answer is yes. And once you push through those minutes, you’ll feel momentum and want to keep going.

You can also set a 15–20 minute timer for each zone of the room. When the timer ends, take a short break before moving on to the next area.

C. Reward completion

Small rewards can reinforce your progress and keep motivation high. After finishing a zone or completing a timed session, allow yourself a brief break.

This could be:

  • Stretching for a minute
  • Taking a sip of coffee or water
  • Playing a favorite song
  • Checking your phone briefly

These quick rewards turn each completed step into a mini achievement, which helps your brain associate cleaning with positive outcomes rather than stress.

D. Define a clear finish line

Another common cause of distraction is feeling like the task will never truly end. To avoid this, decide on a clear stopping point before you start.

For example:

  • “Once I finish cleaning the desk area, I’m done for this session.”
  • “When the floor is vacuumed, today’s cleaning is complete.”

Having a defined finish line gives your effort a sense of completion. Instead of feeling stuck in an endless chore, you’ll experience the satisfaction of finishing a clear goal, and that accomplishment often makes it easier to start the next session later.

How to Keep Your Room Clean After You Finish

Cleaning your room once feels great, but keeping it that way is what truly makes the difference. Following practical house cleaning tips can make regular upkeep easier and prevent clutter from building up again.

Instead of waiting until clutter builds up again, it helps to follow a simple routine. Consistent habits become even more important when keeping your home clean with kids around, where messes can appear quickly.

One effective approach is the 3-Level Maintenance System. Many homeowners rely on long-term home cleaning routines like these to maintain a consistently tidy living space.

1. Daily 5-Minute Reset

Spend about five minutes each day doing a quick tidy. This might include making your bed, putting clothes back in the closet or laundry basket, clearing your desk, and throwing away any trash.

The goal is to prevent small messes from turning into overwhelming ones. Daily resets keep clutter from accumulating, so you’re never starting from zero again.

2. Weekly Refresh

Once a week, do a slightly deeper reset. This can include vacuuming or sweeping the floor, organizing items that drifted out of place, and taking out any accumulated trash.

Think of this as a weekly reset that restores order. Because you’ve been doing daily maintenance, the weekly refresh is manageable.

3. Monthly Deep Clean

Once a month, take time for tasks that don’t need frequent attention. This could include dusting shelves and corners, washing bedding, reorganizing drawers, or cleaning under furniture.

Monthly cleaning helps you reset the entire space and catch hidden buildup before it turns into a bigger problem.

This system works because small habits prevent clutter from building up again. When cleaning becomes a routine, maintaining a tidy room feels natural and sustainable.

By combining a checklist, zone cleaning, timers, and a clear maintenance system, the confusion and avoidance that once made cleaning difficult gradually turn into confident action and a clean room that stays that way.

If Your Room Feels Completely Out of Control

Sometimes the mess feels totally overwhelming. Large cleaning projects, such as cleaning difficult spaces like basements, can feel especially intimidating without a clear starting plan.

If that’s the case, simplify the process before starting the framework.

A. Start with a trash-only sweep

Grab a trash bag and walk around the room collecting obvious garbage like wrappers, empty bottles, old papers, or broken items. Don’t organize yet. Just remove the trash.

B. Use the 3-pile method

Next, sort remaining items into three simple categories:

  • Keep – things you use or need
  • Donate – items in good condition you no longer use
  • Discard – items that are damaged or unusable

This helps reduce clutter quickly without overthinking every decision.

C. Focus on containment, not perfection

At this stage, your goal isn’t perfect organization. Simply group similar items in drawers, baskets, or containers. Once the room feels manageable again, you can return to the 5-Step Reset Framework to properly clean and organize the space.


Final Thoughts: Cleaning Your Room Is Not Impossible

Cleaning your room isn’t glamorous, but it’s incredibly rewarding. When you understand where to start when cleaning your room, the task becomes far less intimidating. 

The 5-Step Reset Framework helps you move logically through the process, starting with visible clutter, cleaning from top to bottom, resetting surfaces, finishing the floor, and ending with the bed for a sense of completion.

Pair that with distraction-control strategies, and you create momentum that keeps you moving instead of stalling. You also don’t need to wait for unlimited motivation. Start with the spot that bothers you the most and take the first step. 

Finally, keep that progress alive with simple maintenance habits. Over time, the question stops being where to start when cleaning your room and becomes simply part of your routine.

With the right system, a little focus, and small daily habits, your room can become a calmer space that supports your productivity, comfort, and well-being.

FAQ

Frequently Asked Questions About Cleaning Your Room

Leave a Reply

Your email address will not be published. Required fields are marked *