6 Essential Steps on How to Clean Up Contaminated House Safely

How Are Contaminated Areas Cleaned and Disinfected Normally?
Cleaning up a contaminated house isn’t like tidying your sock drawer. Contamination can involve biological hazards, chemical residues, airborne particles, or moisture-driven mold growth, and each requires a different response.
Which is why understanding how to clean up contaminated house safely requires more than surface wiping and good intentions.
Household contamination may originate from sewage backups, chemical spills, fire residue, rodent waste, improperly stored cleaners, or contaminated soil brought indoors. Some issues are manageable with careful handling, especially if you know where to start cleaning. Others carry health risks that demand a more careful approach.
Below, you’ll learn the structured steps that help you assess risk, contain hazards, and restore safety.
Table of Contents
- Step One: Identify the Type and Source of Contamination
- Step Two: Secure the Area and Protect Yourself
- Step Three: Contain, Remove, and Clean the Contaminated Area Properly
- Step Four: Handle and Store Cleaning Chemicals Safely to Prevent Further Contamination
- Step Five: Know When Professional Remediation Is Required
- Step Six: Prevent Future Contamination Through Ongoing Maintenance
Step One: How to Clean Up Contaminated House Starts With Proper Identification
The first step in knowing how to clean up contaminated house is identifying exactly what you are dealing with. Misidentifying the hazard often leads to incorrect cleaning methods, much like starting a project without deciding where to begin cleaning.
Contamination generally falls into two categories:
- Biological hazards, such as sewage, mold, or bodily fluids
- Chemical contamination, including solvents, fuel, pesticides, or cleaning agents
Other sources may include lead dust, asbestos, rodents, smoke residue, or contaminated soil tracked indoors.
Some contaminants are visible, while others are not. Airborne particles, chemical vapors, or microscopic mold spores can linger without obvious warning signs.
A well-known public health example of this is the Flint water contamination crisis in Michigan. Although not a typical household spill, it shows how hidden contaminants can affect entire homes when the source is not properly addressed.
Correct identification determines:
- What protective equipment is required
- Whether cleaning, removal, or disposal is necessary
- If professional remediation is legally or medically required
Without accurate assessment, even careful cleanup efforts can make the situation worse.
Step Two: Secure the Area and Protect Yourself
Before commencing physical cleanup, isolate the affected space and put on appropriate protective equipment.
At minimum, wear at least one of the following:
- Disposable nitrile or rubber gloves
- An N95 respirator or equivalent mask
- Eye protection such as safety goggles
- Closed-toe shoes
If you notice strong fumes or experience throat irritation, dizziness, or coughing, leave the area immediately and increase ventilation before reentering.
Close doors to isolate the room. Turn off HVAC systems if necessary to prevent airborne particles from circulating throughout the home. Limiting foot traffic prevents contamination from spreading to unaffected areas.
Skipping protective measures or delaying containment often expands the damage. What starts as a small spill can spread through flooring, vents, or adjacent rooms.
Once the area is secure and you are properly protected, physical containment can begin.
Step Three: Contain, Remove, and Clean the Contaminated Area Properly
Containment prevents contamination from spreading during cleanup. This stage focuses on isolating and removing loose material without disturbing particles further.
To contain the area:
- Close doors and seal gaps where possible
- Use plastic sheeting for larger or airborne hazards
- Keep children and pets away
- Block airflow to other rooms
When removing debris, work slowly and deliberately. Avoid sweeping or aggressive scrubbing, which can release particles into the air.
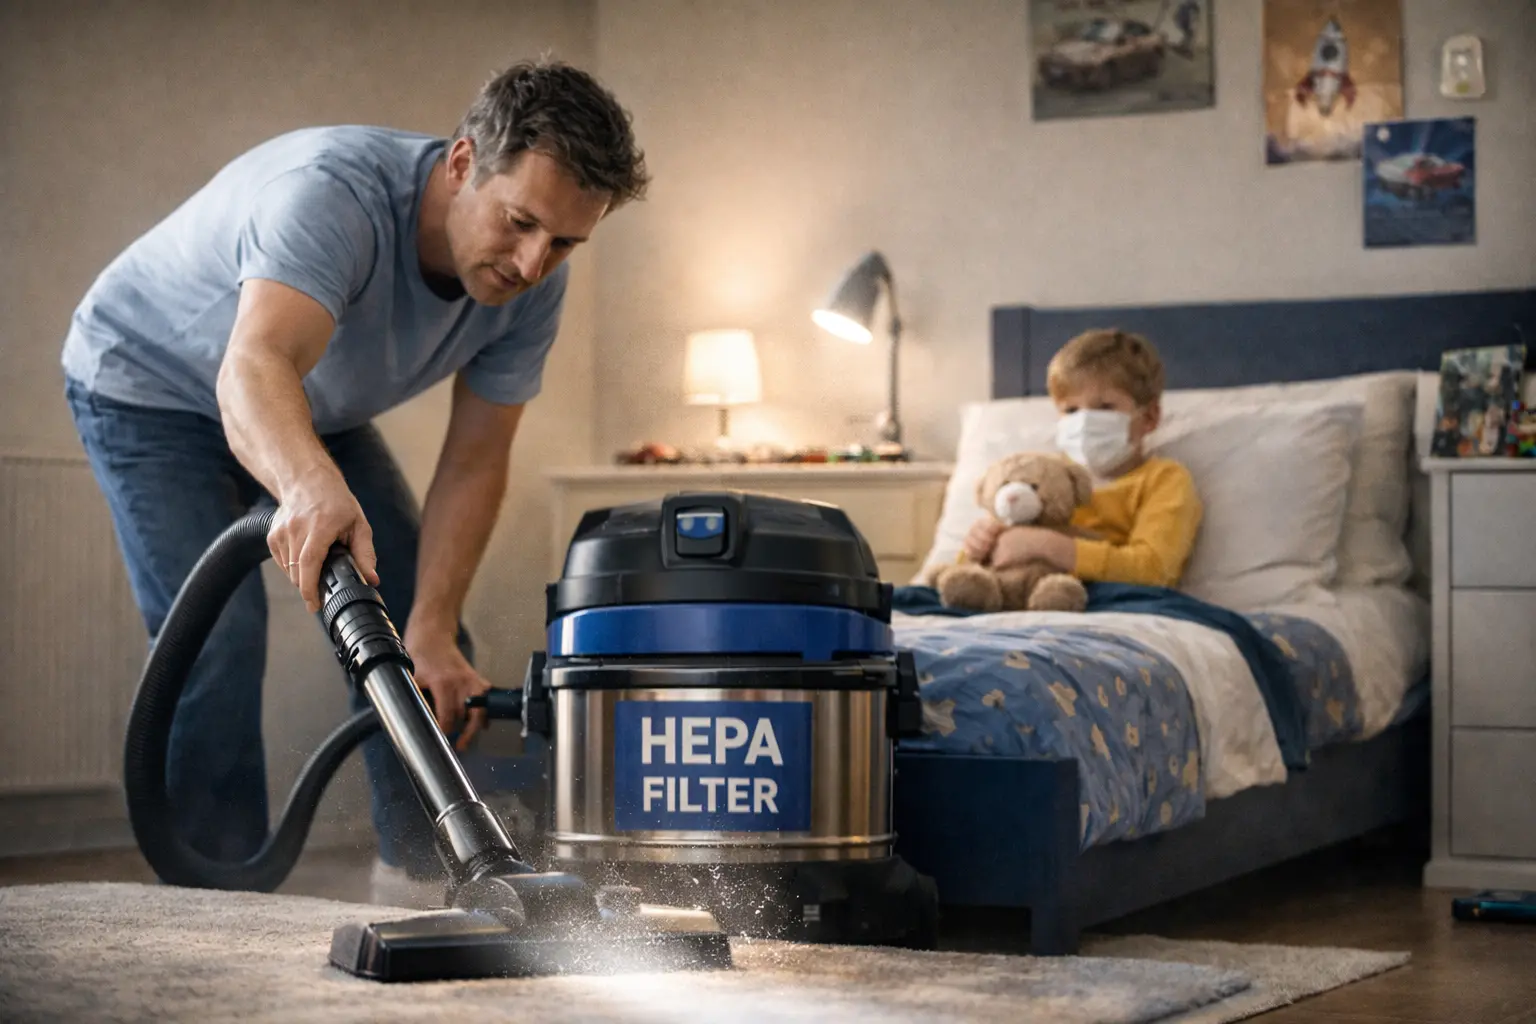
Do not use standard household vacuums unless they are equipped with certified HEPA filtration. Regular vacuums may redistribute fine contaminants rather than remove them.
Place solid waste into thick, sealable bags. Avoid introducing moisture unless specifically required, as water can spread certain contaminants.
After visible debris has been removed and the area remains isolated, surfaces can move into the cleaning and disinfection phase.
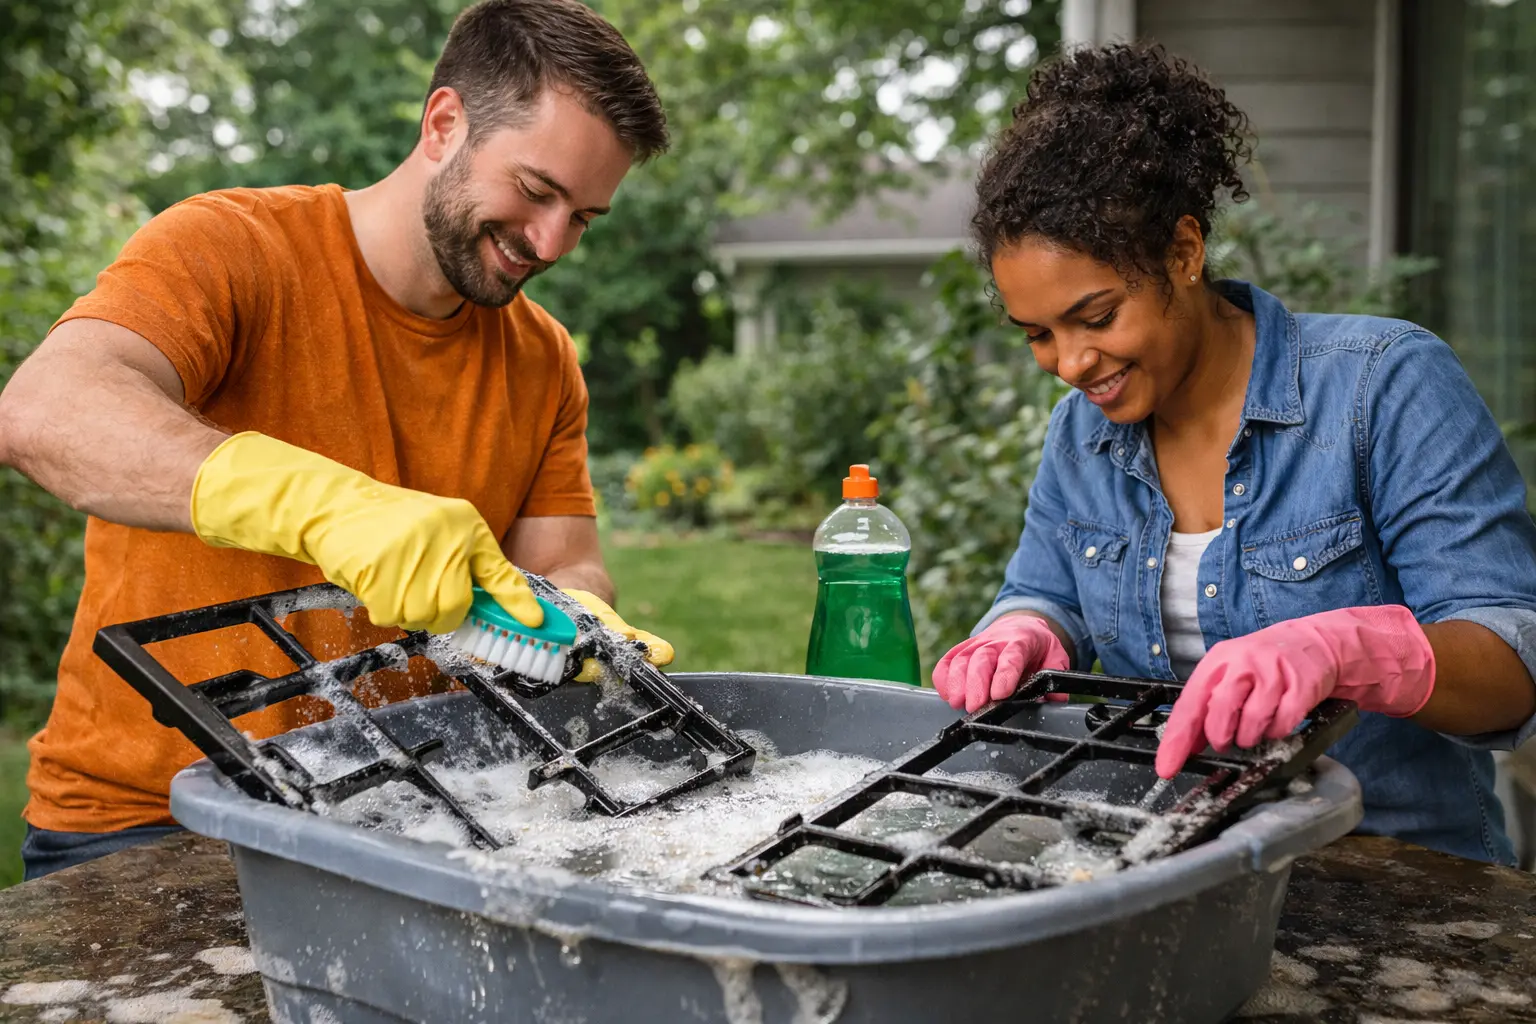
Step Four: Handle and Store Cleaning Chemicals Safely to Prevent Further Contamination
Effective cleaning follows the proper cleaning procedure, especially when contamination is involved. Skipping steps reduces effectiveness and may leave hazardous residues behind.
The proper order is:
- Dry debris removal
- Cleaning with soap or detergent to remove oils and surface residue
- Rinsing or wiping down to eliminate detergent film
- Disinfection, when appropriate
Disinfectants kill microorganisms but do not remove dirt. Properly cleaning and disinfecting surfaces in a room ensures contaminants are fully addressed rather than temporarily masked.
Applying them before surfaces are cleaned reduces their effectiveness and wastes product.
Product selection should match the contaminant:
- Biological contamination → EPA-registered disinfectants
- Chemical spills → Manufacturer-recommended neutralizing agents
- Contaminated soil → Removal and regulated disposal
All contaminated materials should be sealed in heavy-duty bags. Follow local municipal regulations for hazardous waste disposal. Improper disposal can violate environmental regulations and create additional liability.
After cleaning, ventilate thoroughly. Open windows and doors where possible. HEPA air filtration can help remove lingering airborne particles.
Dry the area completely. Lingering odors or residue can be signs a house may not be fully clean, even after surface wiping. Moisture left behind can encourage mold growth and restart the contamination cycle.
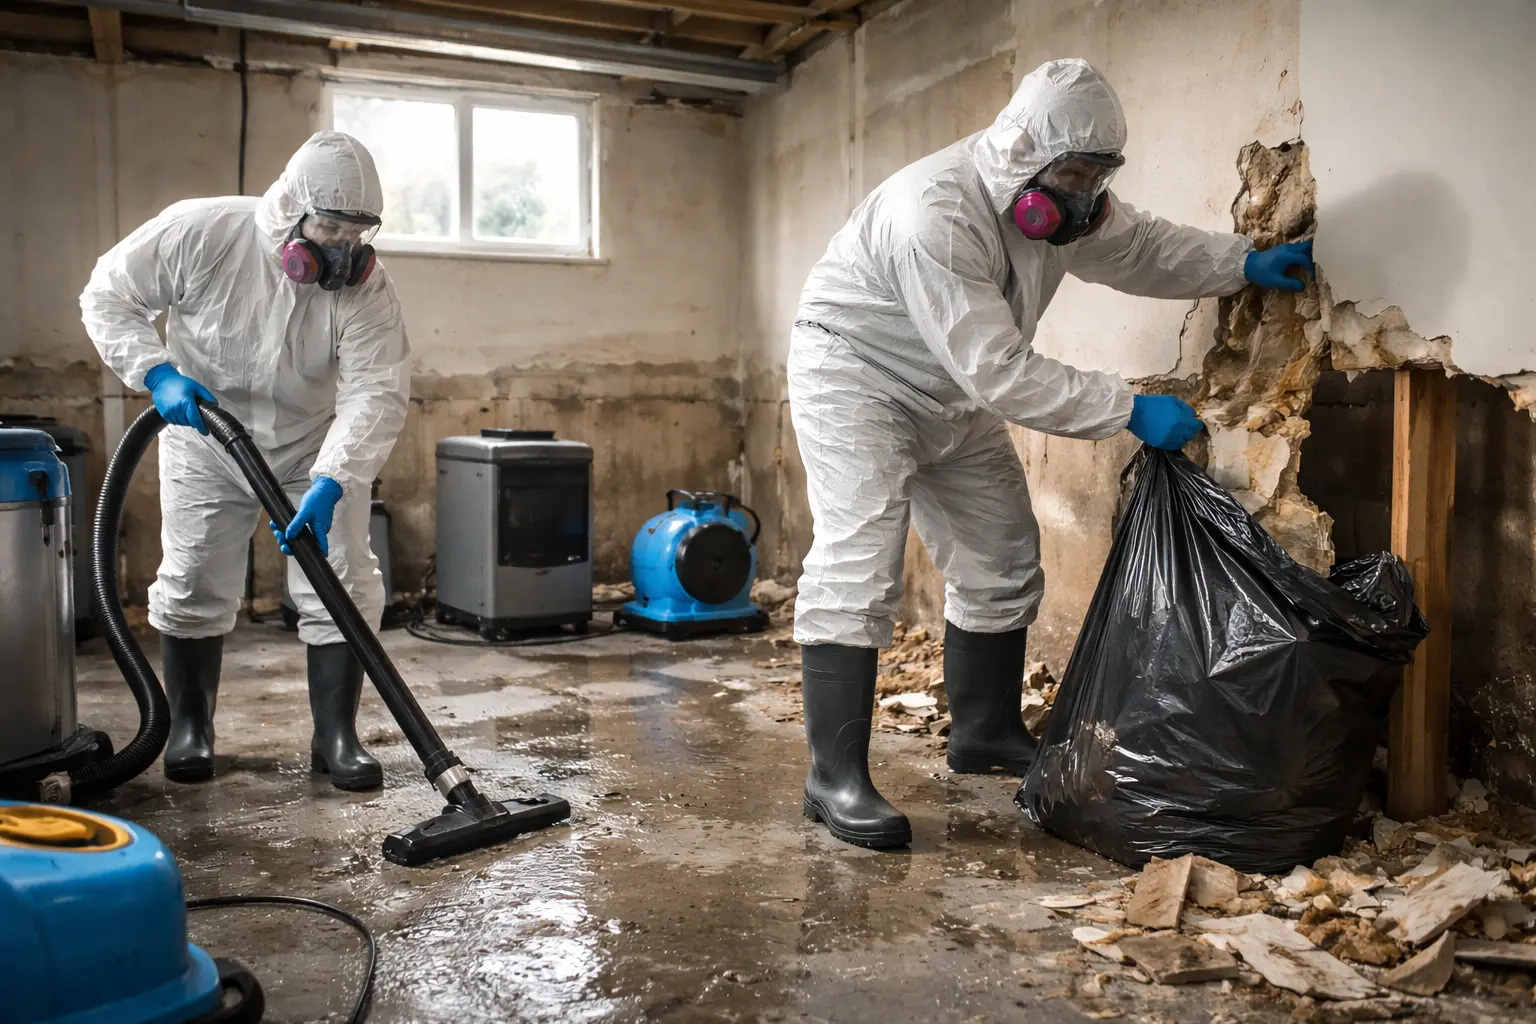
Step Five: Know When Professional Remediation Is Required
Even with proper precautions, some contamination exceeds safe DIY limits.
Professional remediation becomes necessary when contamination involves structural materials, hazardous substances, or regulatory thresholds.
Structural Contamination
- Mold covering more than 10 square feet
- Saturated drywall, insulation, or flooring
- Sewage intrusion affecting porous materials
Basement flooding and moisture issues often require specialized steps similar to cleaning a contaminated basement.
Hazardous Substances
- Fuel, solvent, or industrial chemical spills
- Asbestos or lead disturbance
- Unknown powders or dust
Biohazard incidents, such as cleaning up blood safely, require specialized handling and protective equipment.
Certified remediation specialists follow OSHA Hazardous Waste Operations and Emergency Response (HAZWOPER) standards and EPA disposal regulations. They use containment systems, negative air pressure equipment, and documented procedures to ensure safe removal.
Insurance considerations also matter, and understanding professional cleaning costs can help homeowners plan appropriately. Many homeowner policies require professional documentation for contamination-related claims.
Attempting complex remediation independently can complicate insurance coverage or future property transactions.
When contamination involves hazardous materials or structural impact, professional intervention protects health, property value, and legal compliance.
Step Six: Prevent Future Contamination Through Ongoing Maintenance
Once your home is restored, prevention becomes the most reliable safeguard.
Building effective cleaning habits reduces the likelihood of contamination returning:
- Store chemicals in cool, ventilated spaces
- Keep products in original containers with intact labels
- Never mix bleach with ammonia or acids
- Inspect plumbing and moisture-prone areas regularly
- Use HEPA filtration in higher-risk areas
- Clean spills immediately
- Review stored chemicals every six months
- Schedule inspections after significant water intrusion
Using a structured cleaning checklist ensures high-risk areas are not overlooked during routine maintenance.
Routine inspections and safe storage habits cost far less than structural remediation. A few preventive measures now can prevent major cleanup expenses later.
Final Thoughts: Making Contaminated Home Cleanup Safe and Effective
Understanding how to clean up contaminated house situations safely requires a clear plan, the right protective measures, and informed decisions at each stage. Many minor incidents can be resolved through careful containment and cleaning. More serious contamination demands professional remediation to protect health and comply with safety regulations.
By following a logical sequence like identify, protect, contain, clean, evaluate, and prevent, you reduce risk and restore a safe living environment without unnecessary exposure.
FAQ
FAQs on How to Clean Up Contaminated House
Learning how to clean up contaminated house safely starts with identifying the contamination type, using proper protective equipment, and following a structured cleaning and disinfection process. Minor contamination can often be handled with careful containment. Larger, hazardous, or structural contamination requires professional remediation to ensure safety and compliance.
The first step is identifying the source and type of contamination. Determining whether the hazard is biological, chemical, or structural will guide your protective measures and cleaning method. Acting without proper assessment can spread contamination rather than eliminate it.
It depends on the severity and type of contamination. Small, contained incidents may be manageable with appropriate protective equipment and correct cleaning procedures. However, sewage backups, mold covering large areas, fuel spills, or unknown substances should be handled by licensed remediation professionals.
The correct procedure involves removing loose debris, cleaning with detergent, rinsing, and then disinfecting when necessary. Disinfectants should only be applied after surfaces are visibly clean. Skipping steps can reduce effectiveness and leave hazardous residues behind.
Thorough drying prevents moisture from encouraging mold growth or bacterial regrowth. Even after surfaces appear clean, lingering moisture can restart contamination. Proper ventilation and air circulation are essential parts of the cleanup process.
Professional remediation is necessary when contamination involves hazardous chemicals, sewage intrusion, mold exceeding safe limits, asbestos, lead, or structural materials. Certified specialists follow OSHA and EPA safety standards and use containment systems that homeowners typically do not have access to.
Some household cleaners may be effective for minor contamination if used correctly. However, certain contaminants require EPA-registered disinfectants or manufacturer-recommended neutralizing agents. Using the wrong product can spread contamination or create unsafe chemical reactions.